Guide
- Log in to Zoom App Marketplace App Marketplace
- Look for CXera in the marketplace;
- On the CXera app page, click Visit site to install, which will redirect you to https://login.cxera.com/zoom;
- On this page enter your tenant URL subdomain and click Continue;
- If you are not authenticated in this CXera tenant, you will be redirected to the login page, with login type set to zoom as a URL query parameter -
{tenantUrl}.cxera.com/login?type=zoom; - Log in to CXnow using your username and password;
- You are redirected to the Integrations page of CXnow and Zoom installation automatically begins;
- In the newly spawned browser window, authorize your Zoom account to be used by CXera;
- A response that the installation is successful or not is shown in CXnow. Because Zoom doesn’t know which tenant (or subdomain) to authorize you with, step 3 is necessary. Once you authenticate into CXnow, your access token contains your user and tenant IDs, which is what we need to initialize the installation. Starting with step 6, the process to install Zoom into CXera is virtually the same as doing it from CXnow, with unnecessary manual steps skipped.
- Log in to CXnow using your username and password;
- Open Integrations from the main sidebar;
- On the Integrations page, choose Zoom;
- On the Zoom page, you’re presented with a big Install button, installation and uninstallation steps, as well as a list of frequently asked questions;
- Click the Install button;
- In the newly spawned browser window, authenticate with Zoom if needed, then authorize your Zoom account to be used by CXera;
- A response that the installation is successful or not is shown in CXnow.
Since you’re initiating the installation from CXnow, you’re already authenticated and your user and tenant IDs are known.
- Open Zoom App Marketplace;
- Log in, if necessary;
- Click Manage;
- Click Installed apps;
- Click the Uninstall button next to CXera.
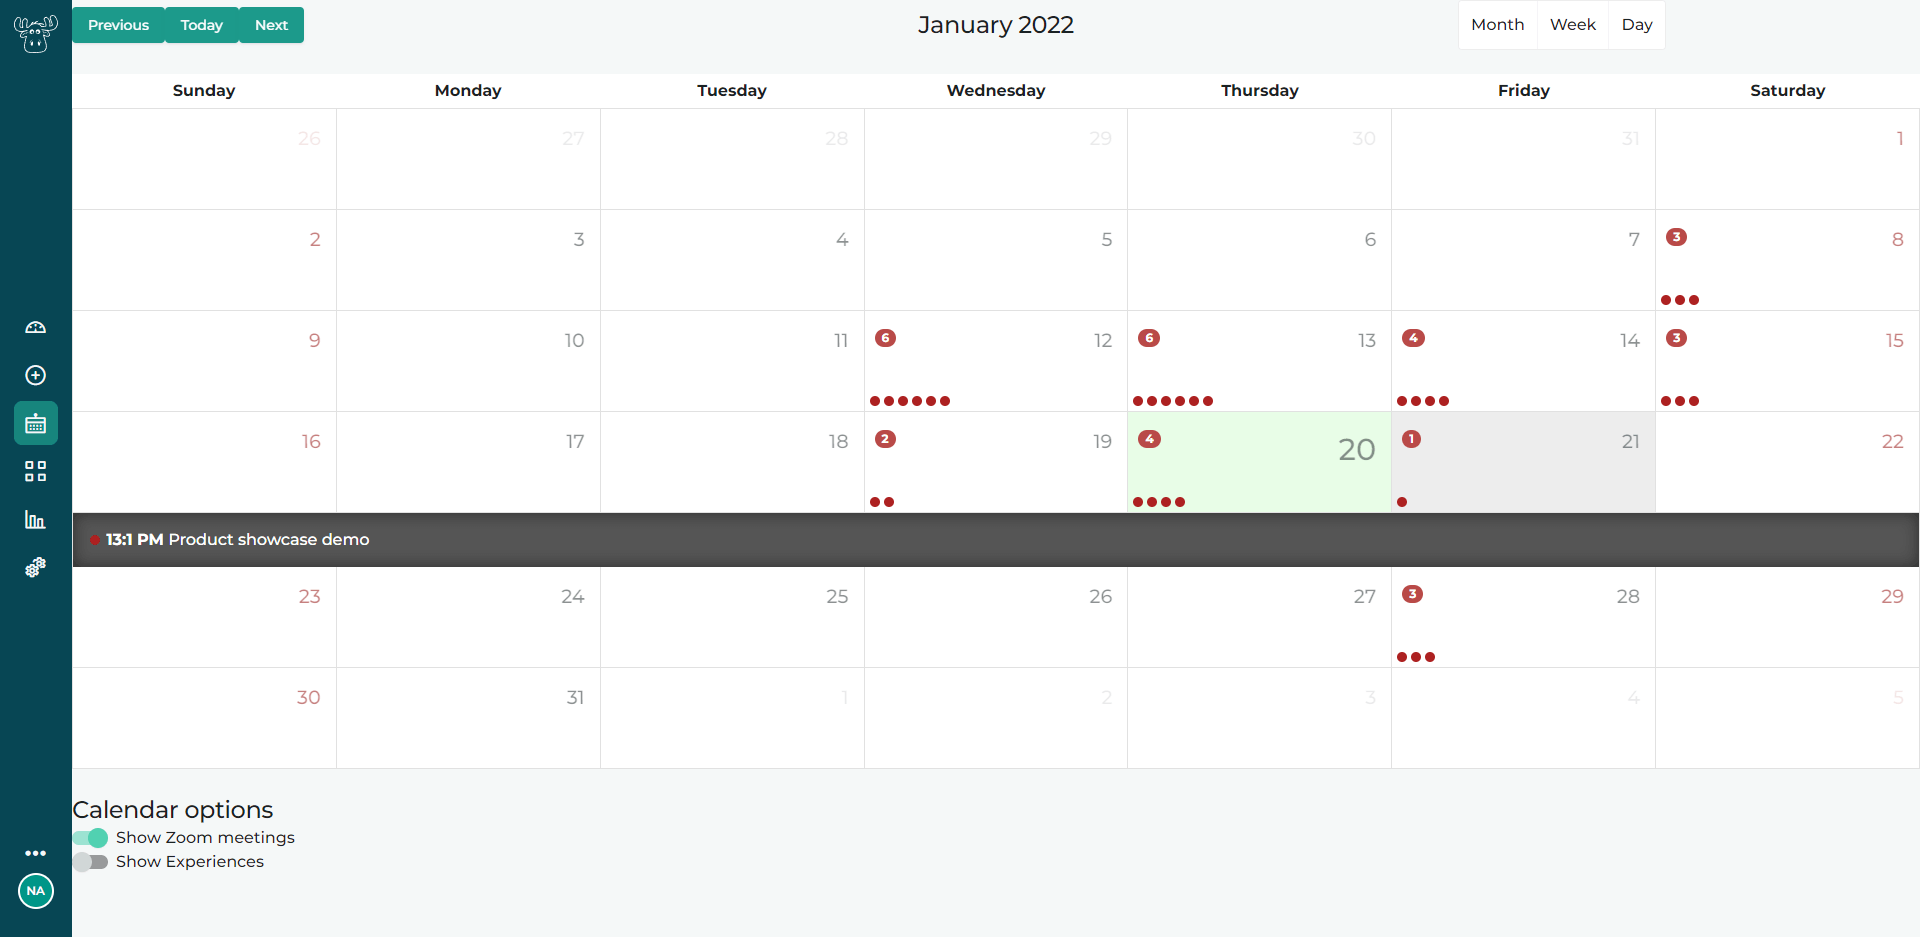
- After every meeting is finished, it will be added to your calendar as an event that occurred when the meeting started.
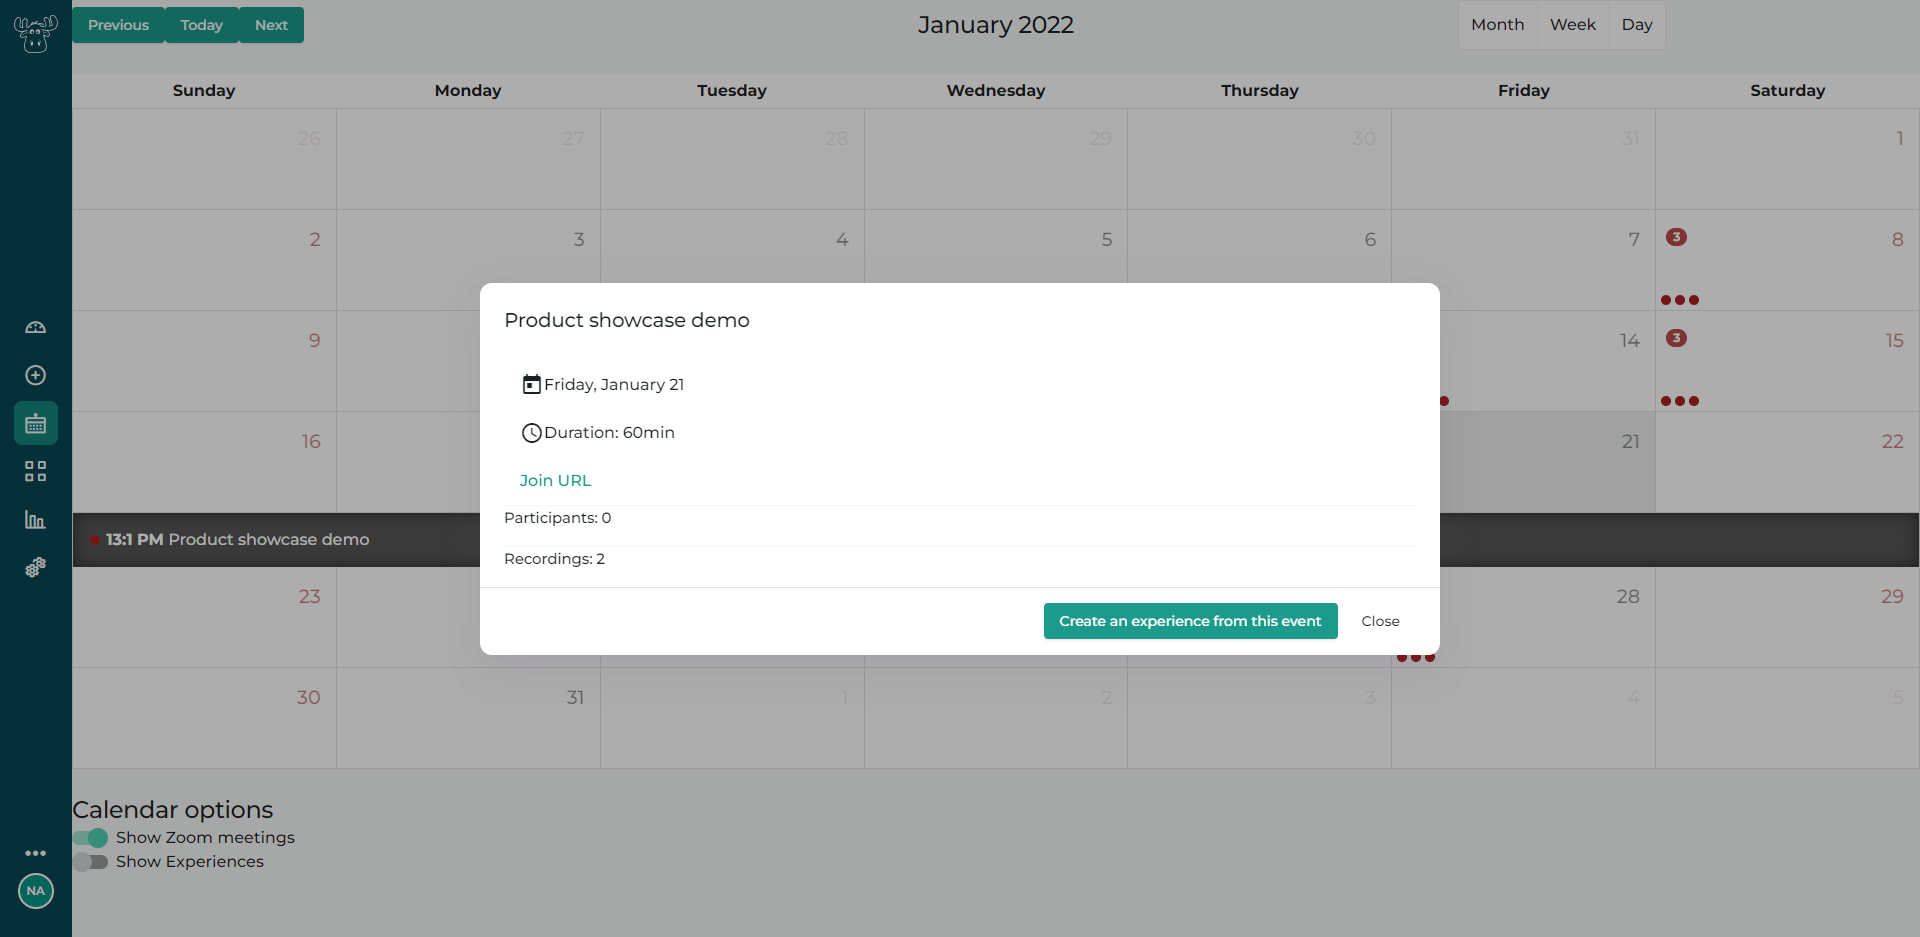
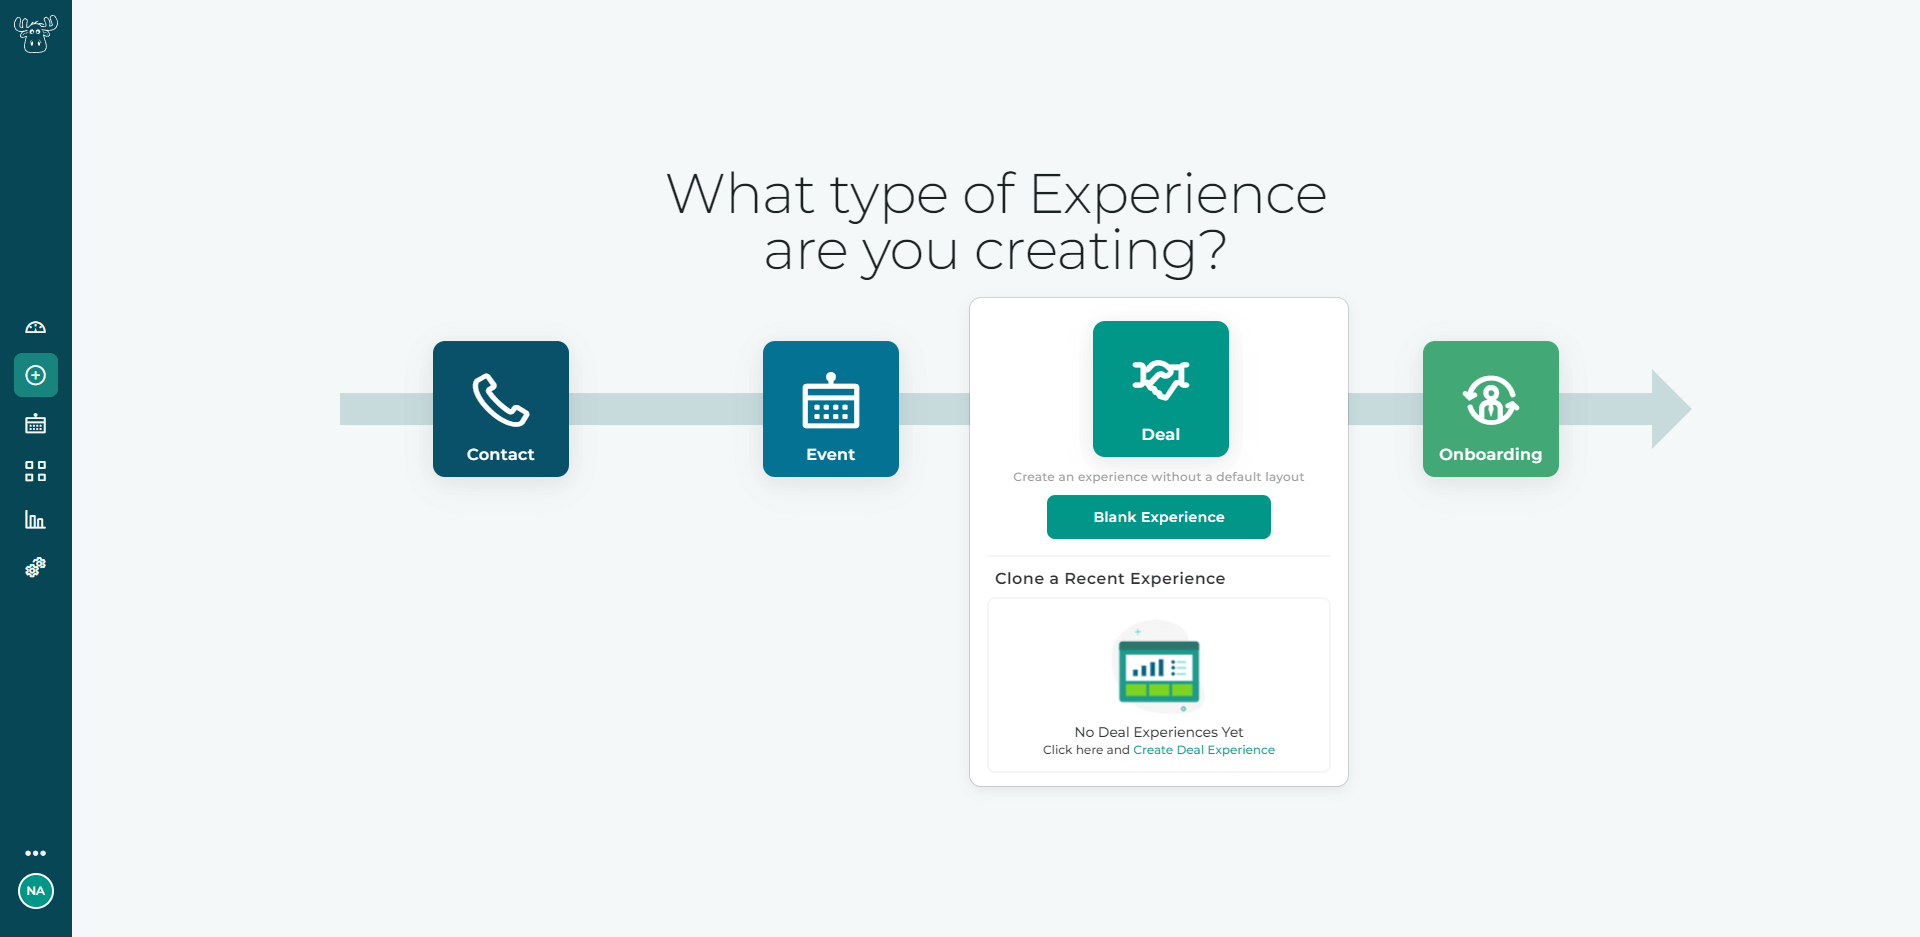
- From a Zoom calendar event, you can see its details, as well as spawn the Experience wizard to create an Experience as you normally would.
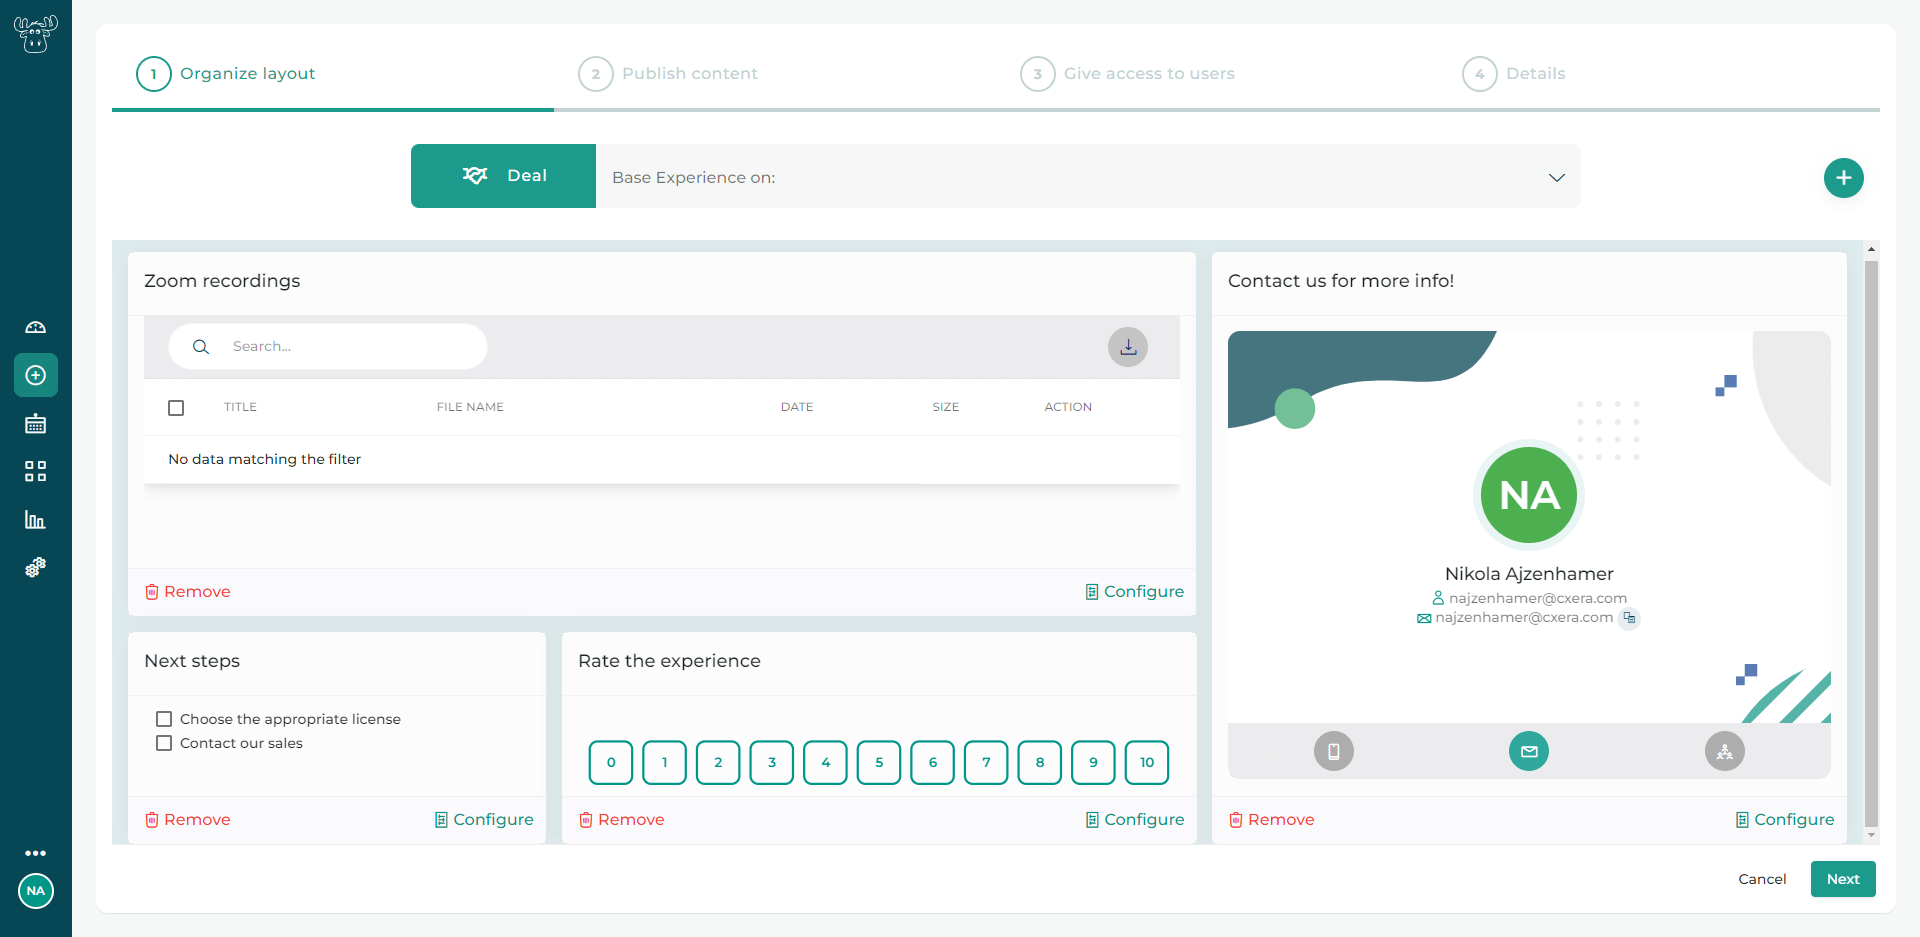
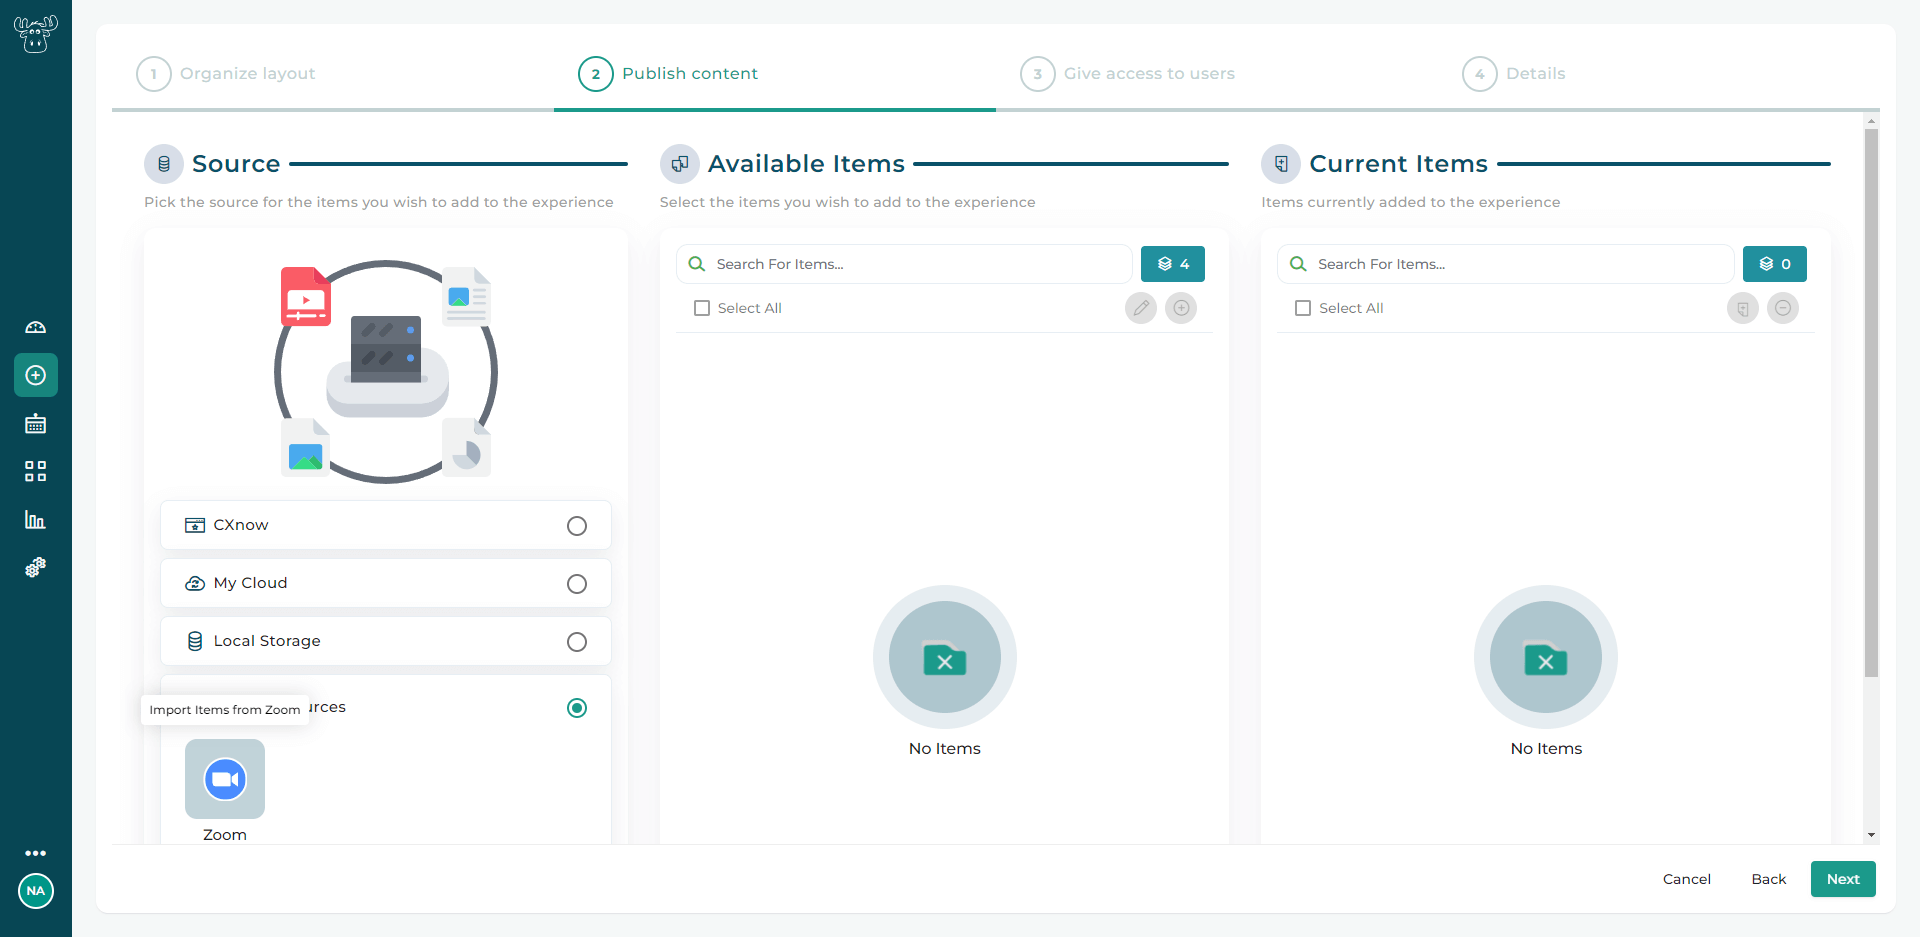
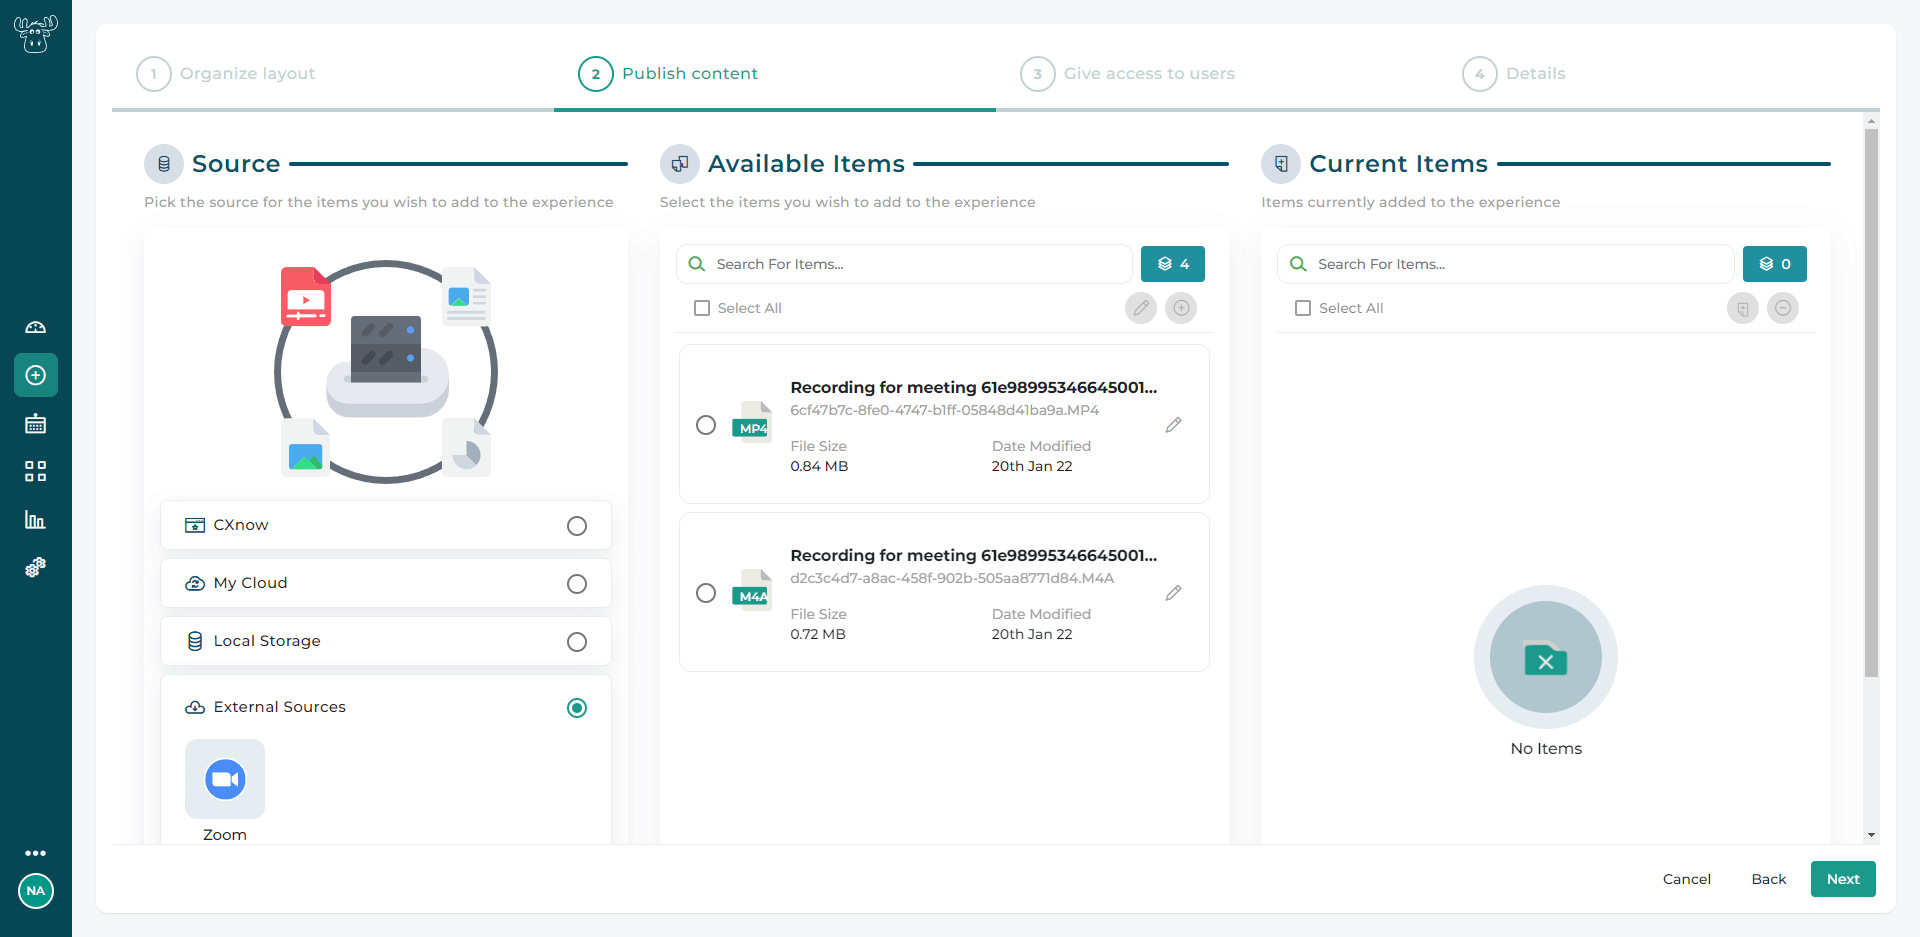
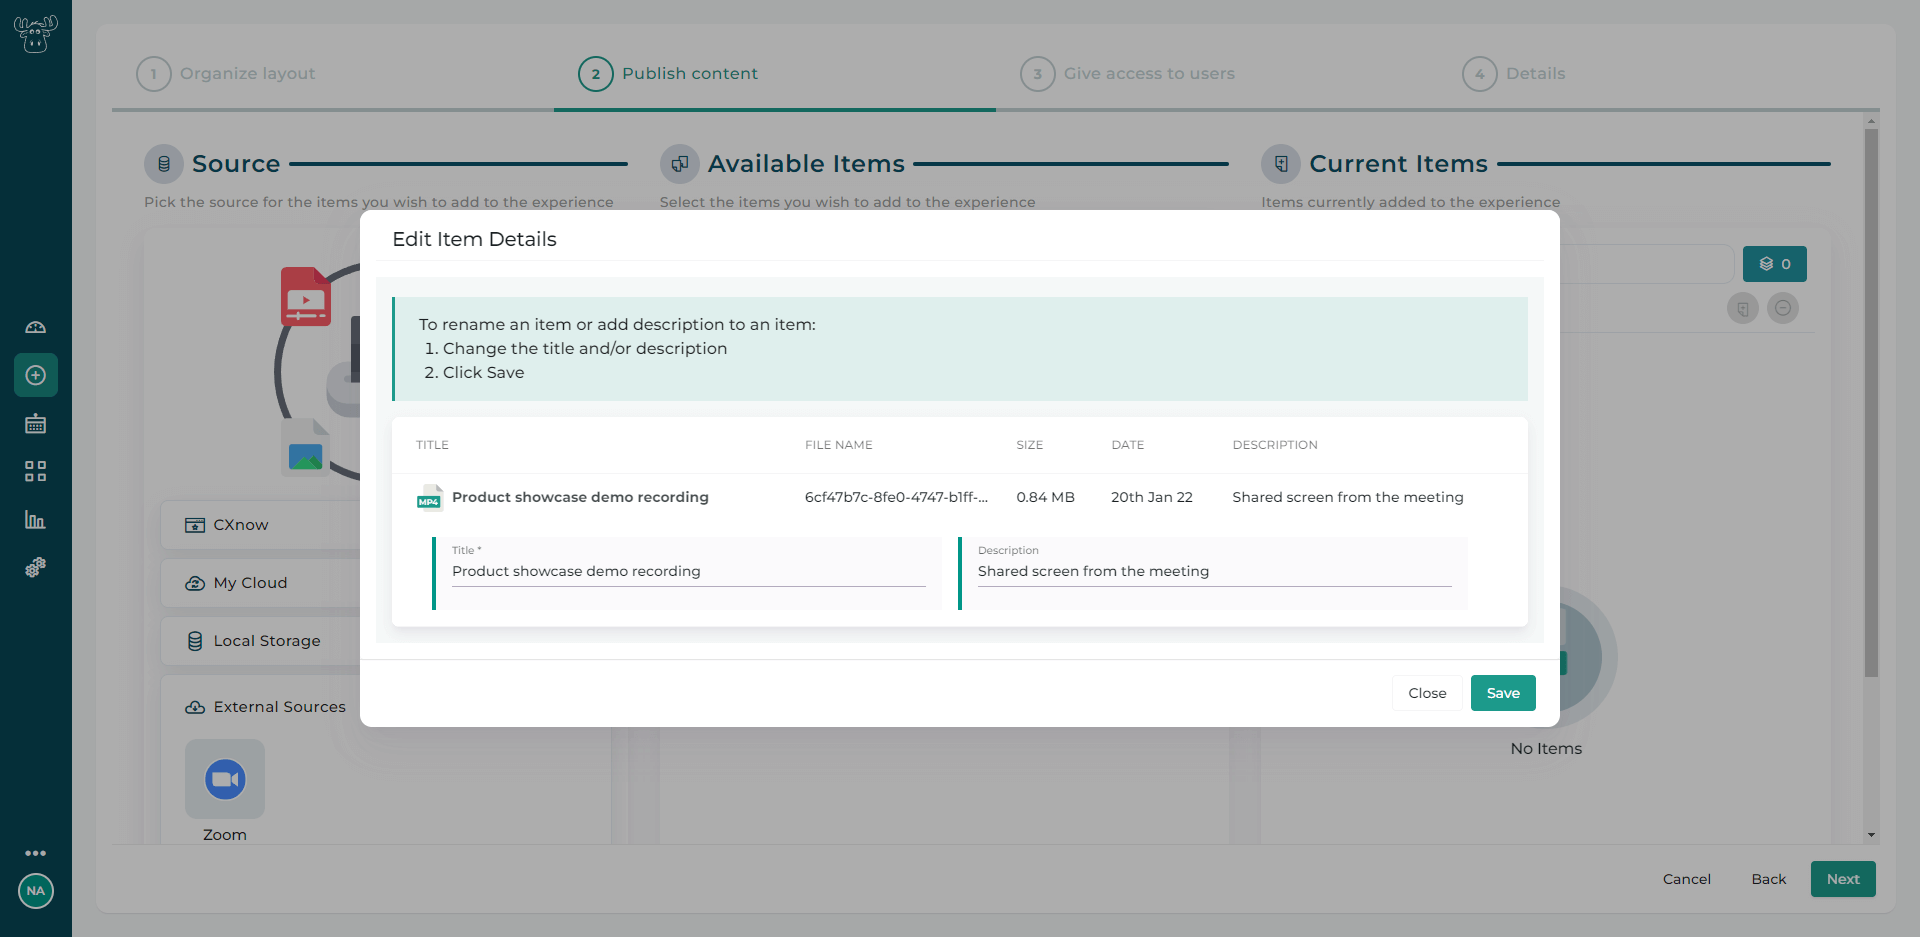
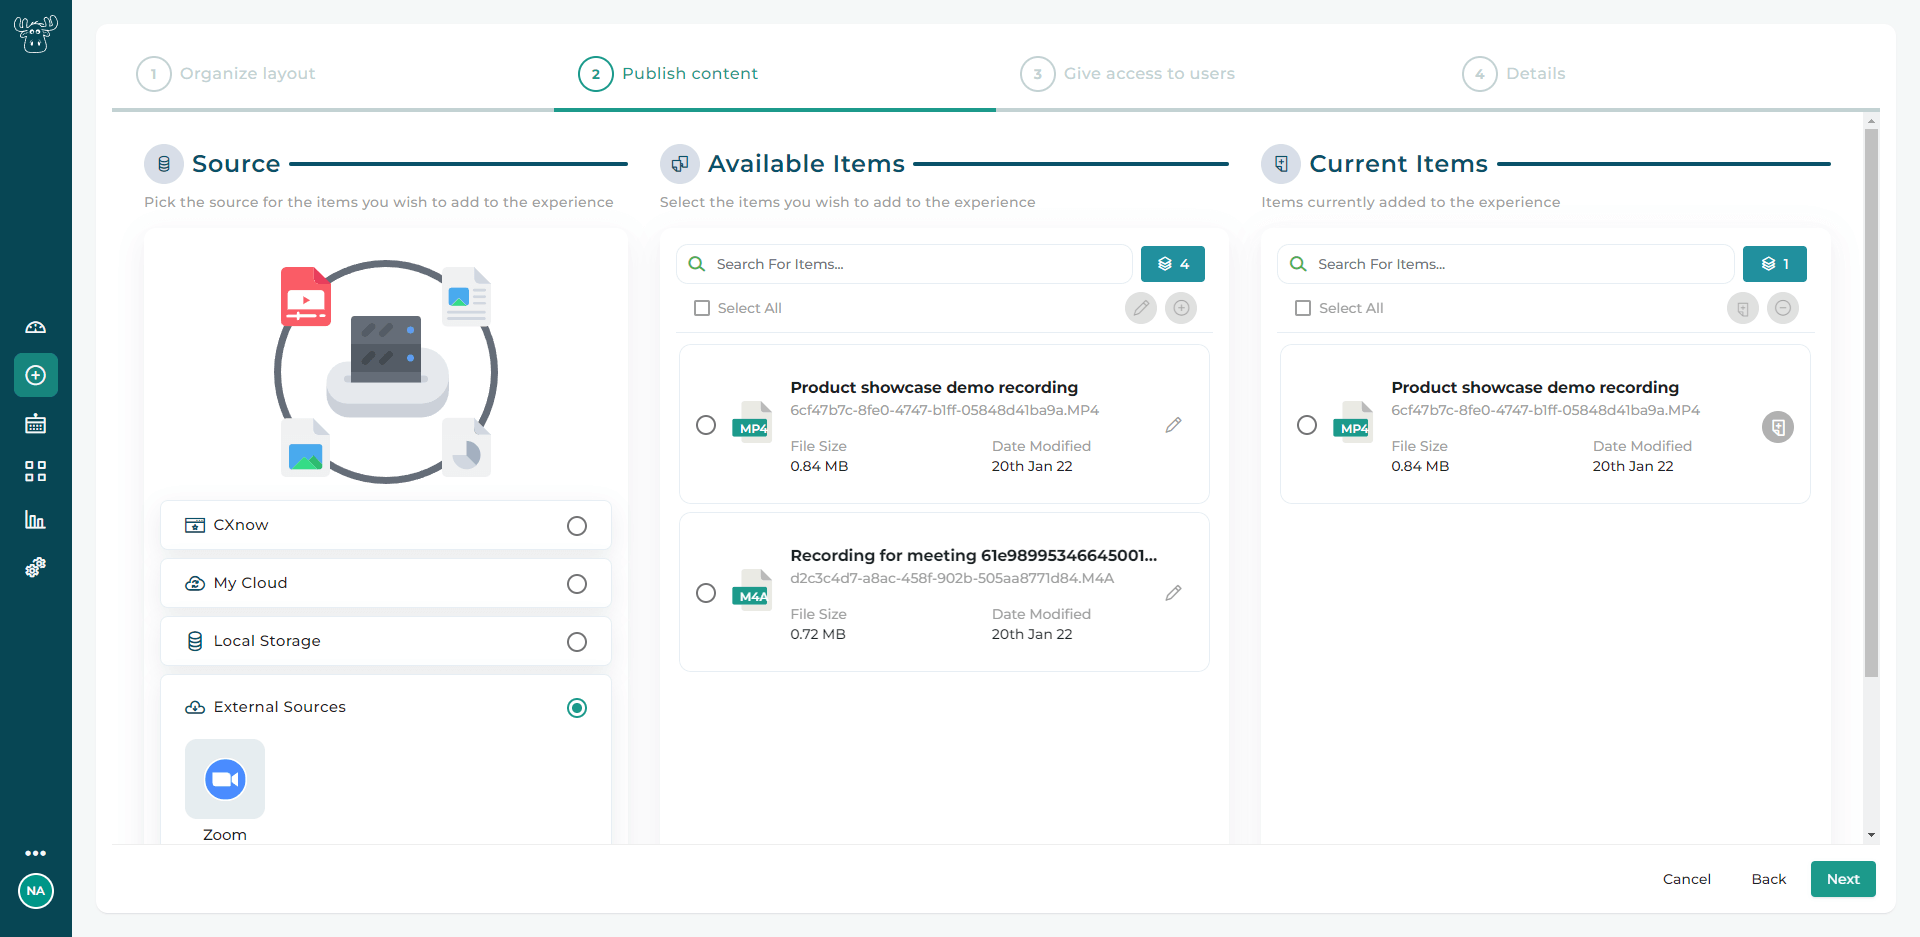
- You can start taking advantage of Zoom on the second step of the wizard. By choosing Zoom as the source under My Cloud, you’ll load the meeting’s recording under Available Items. From here, like with any other content item, you can add it to your new Experience by moving it to Current Items. At any time, you can edit the metadata of each content item.
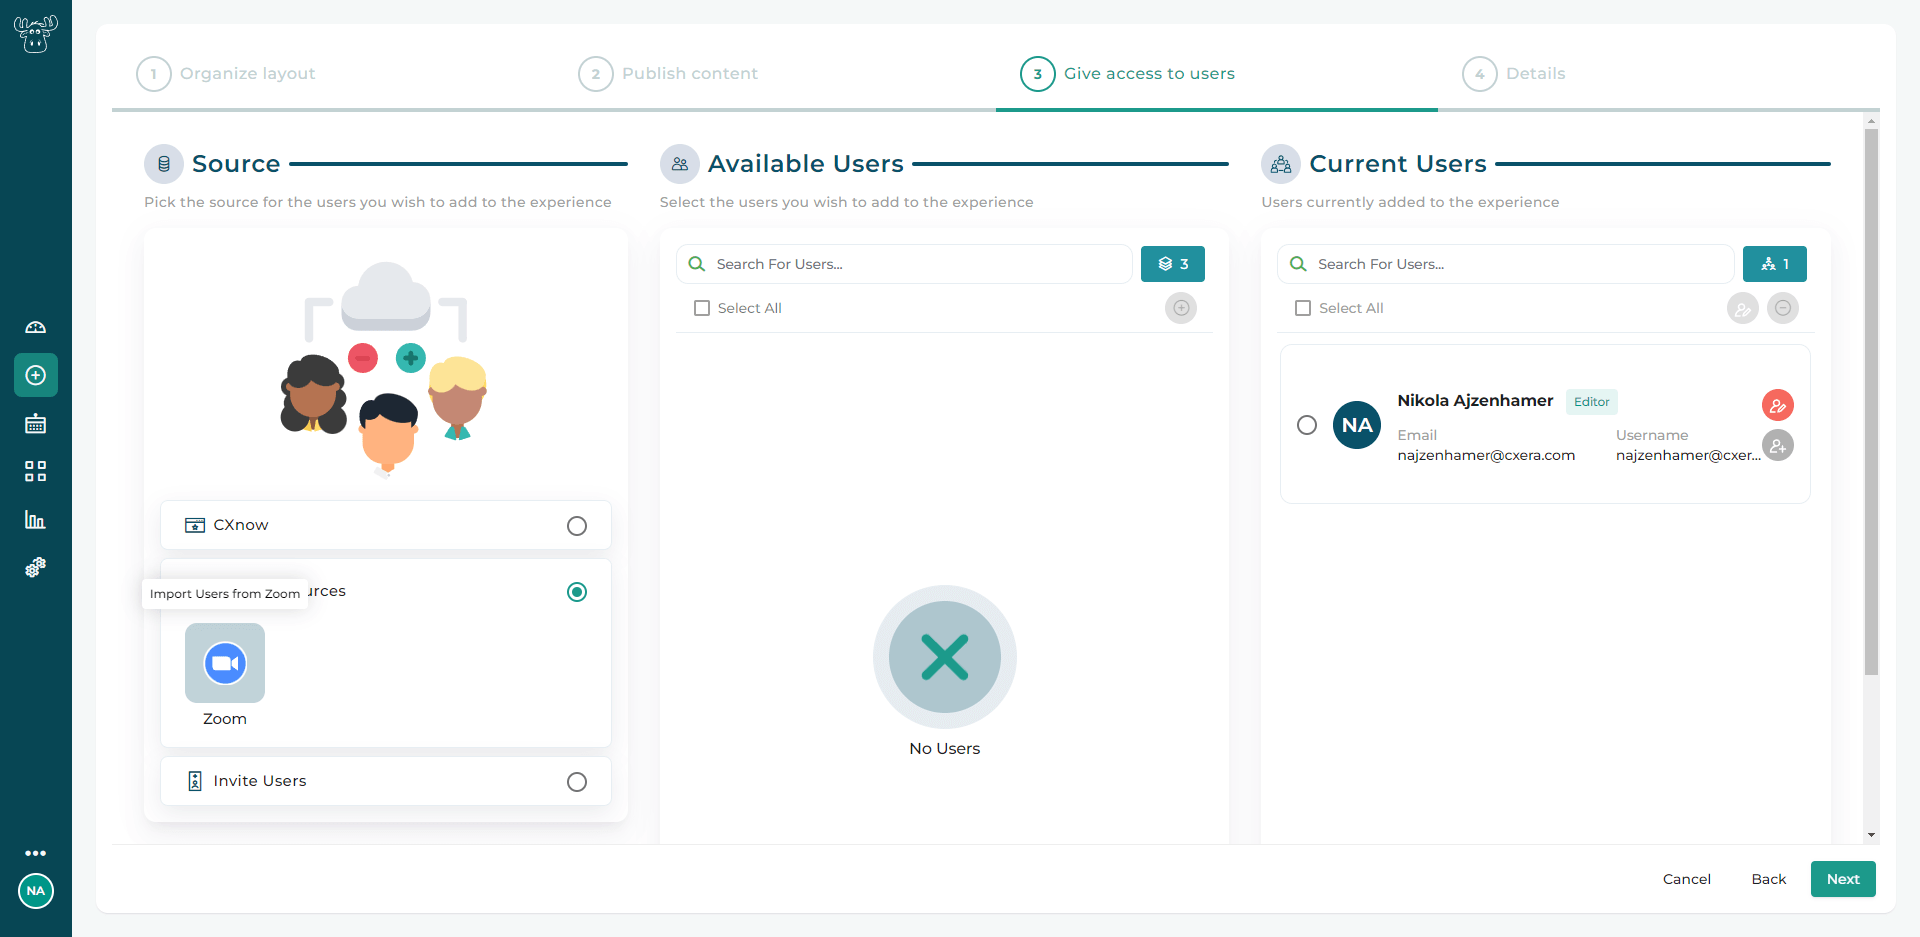
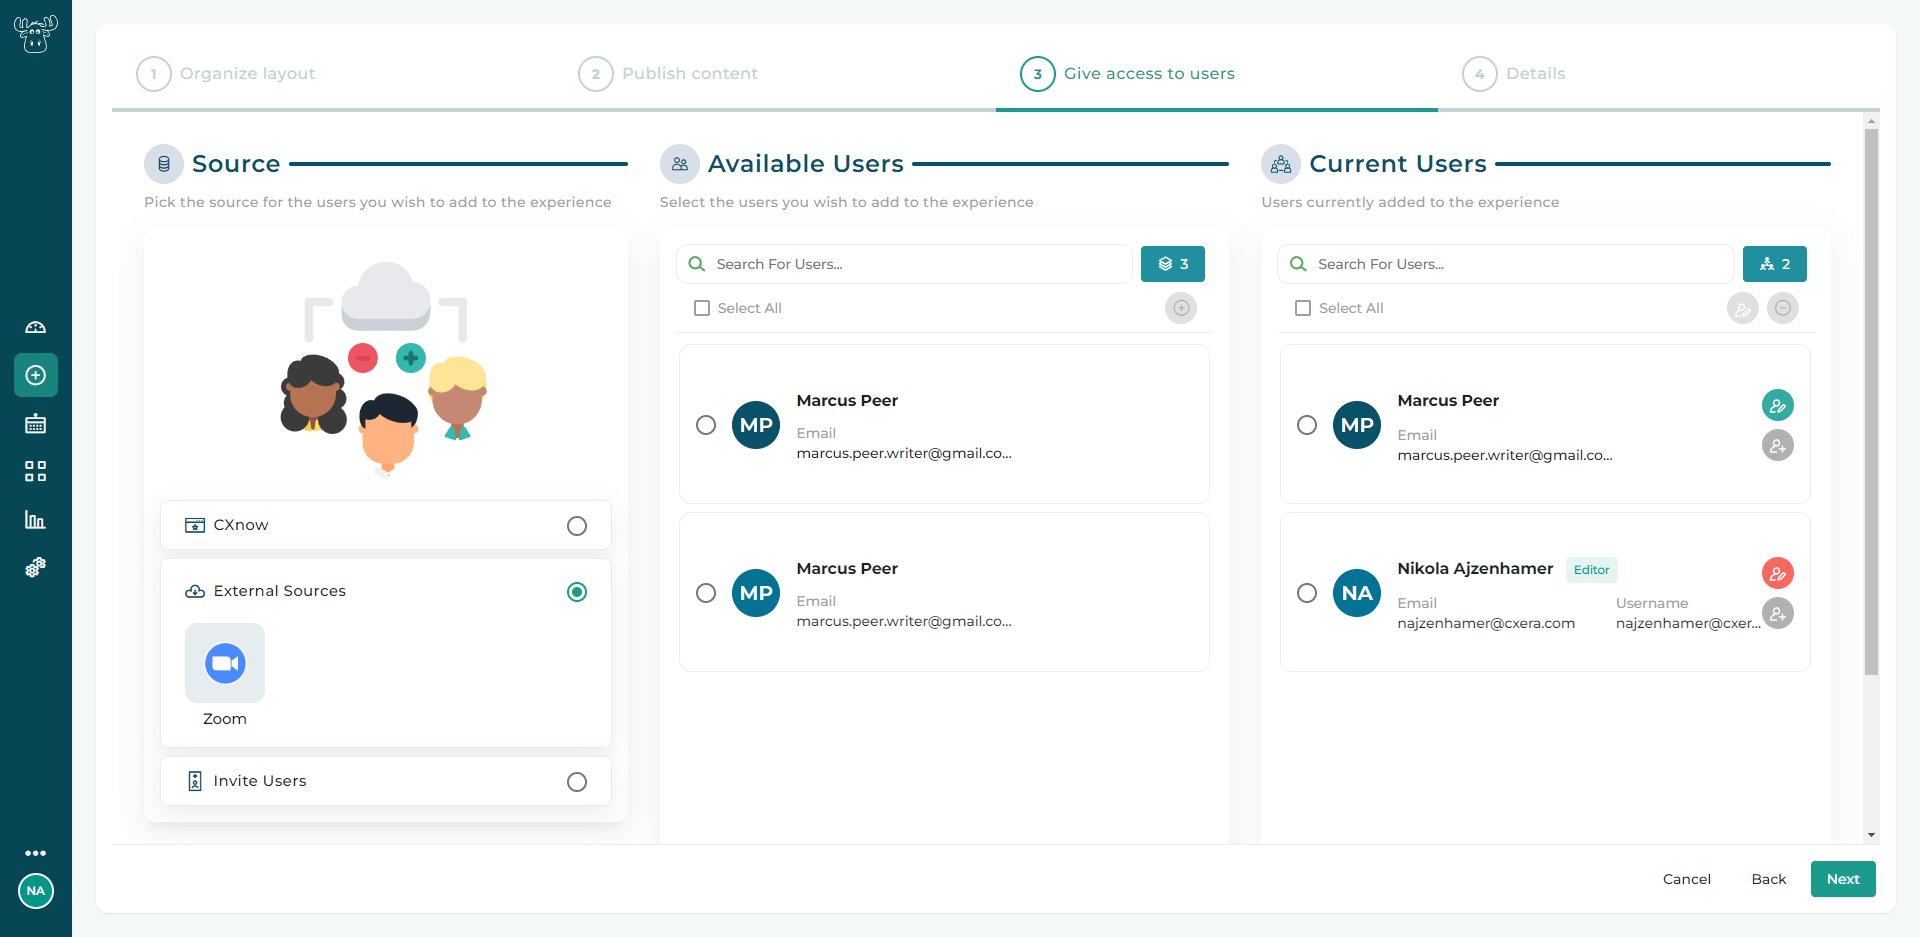
- Similarly, on the third step of the wizard, you can choose Zoom as the source under External Sources. This will add all meeting attendees to Available Users. From here, you can pick and choose who you want to invite to your experience.
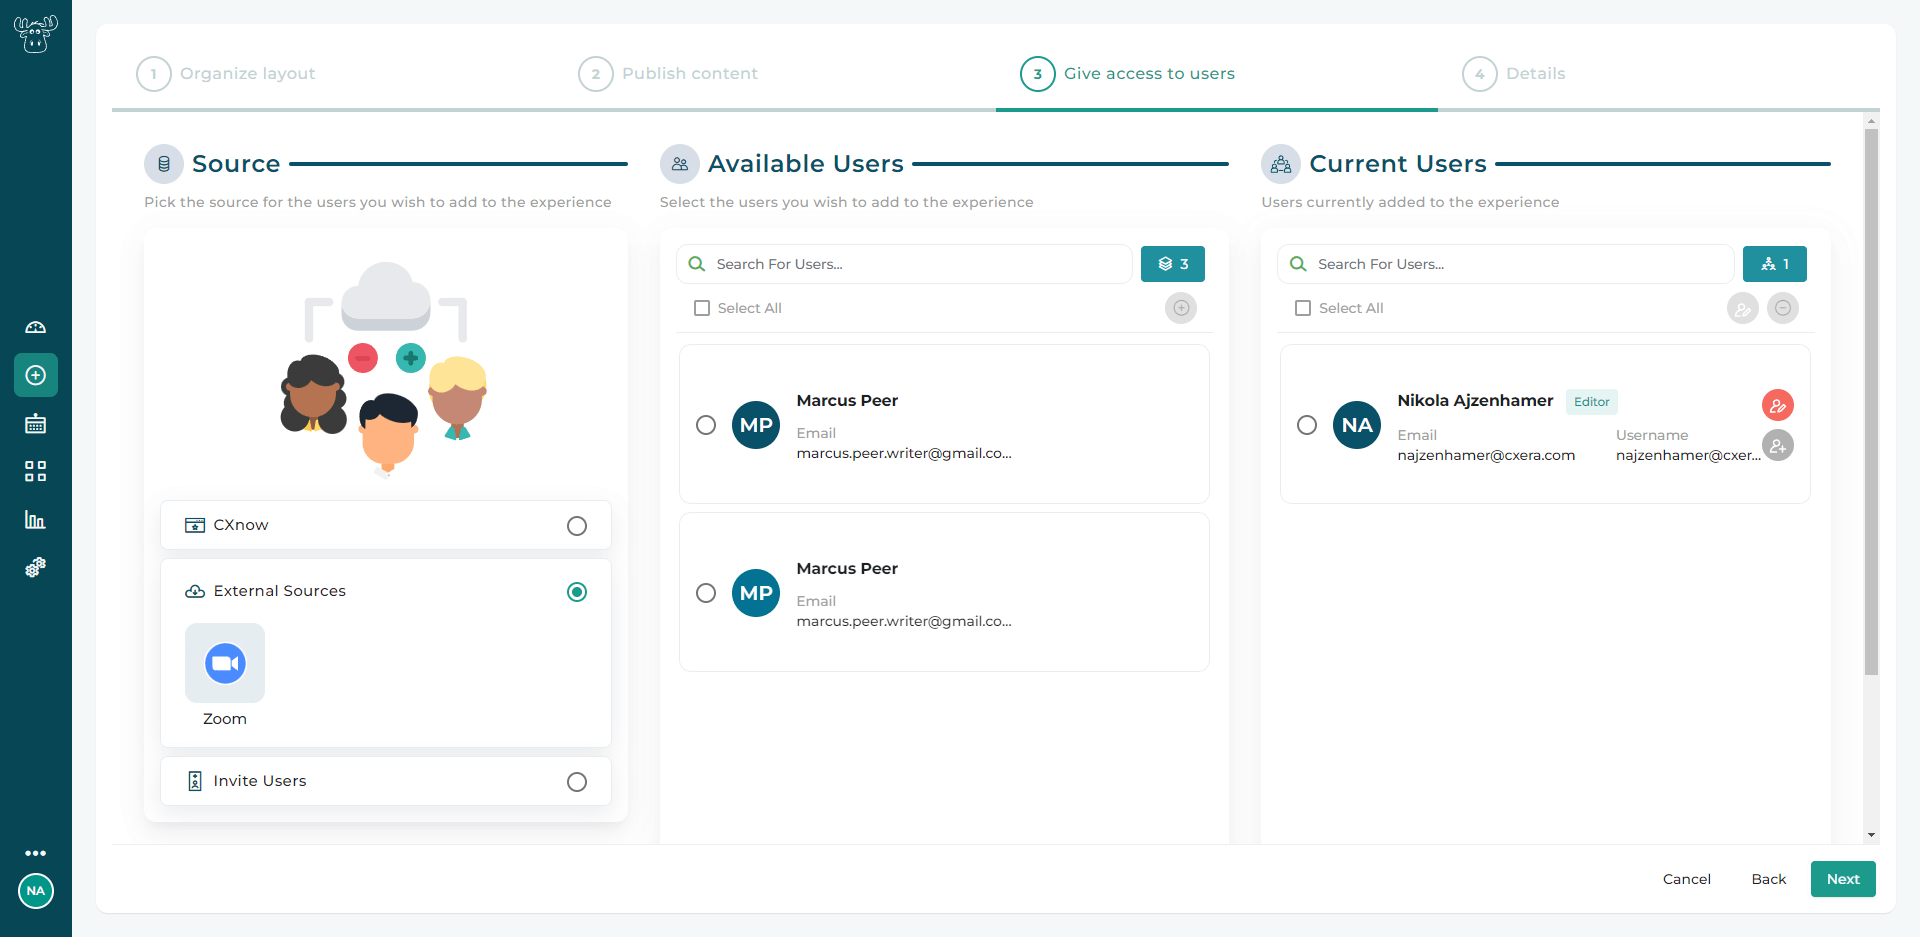
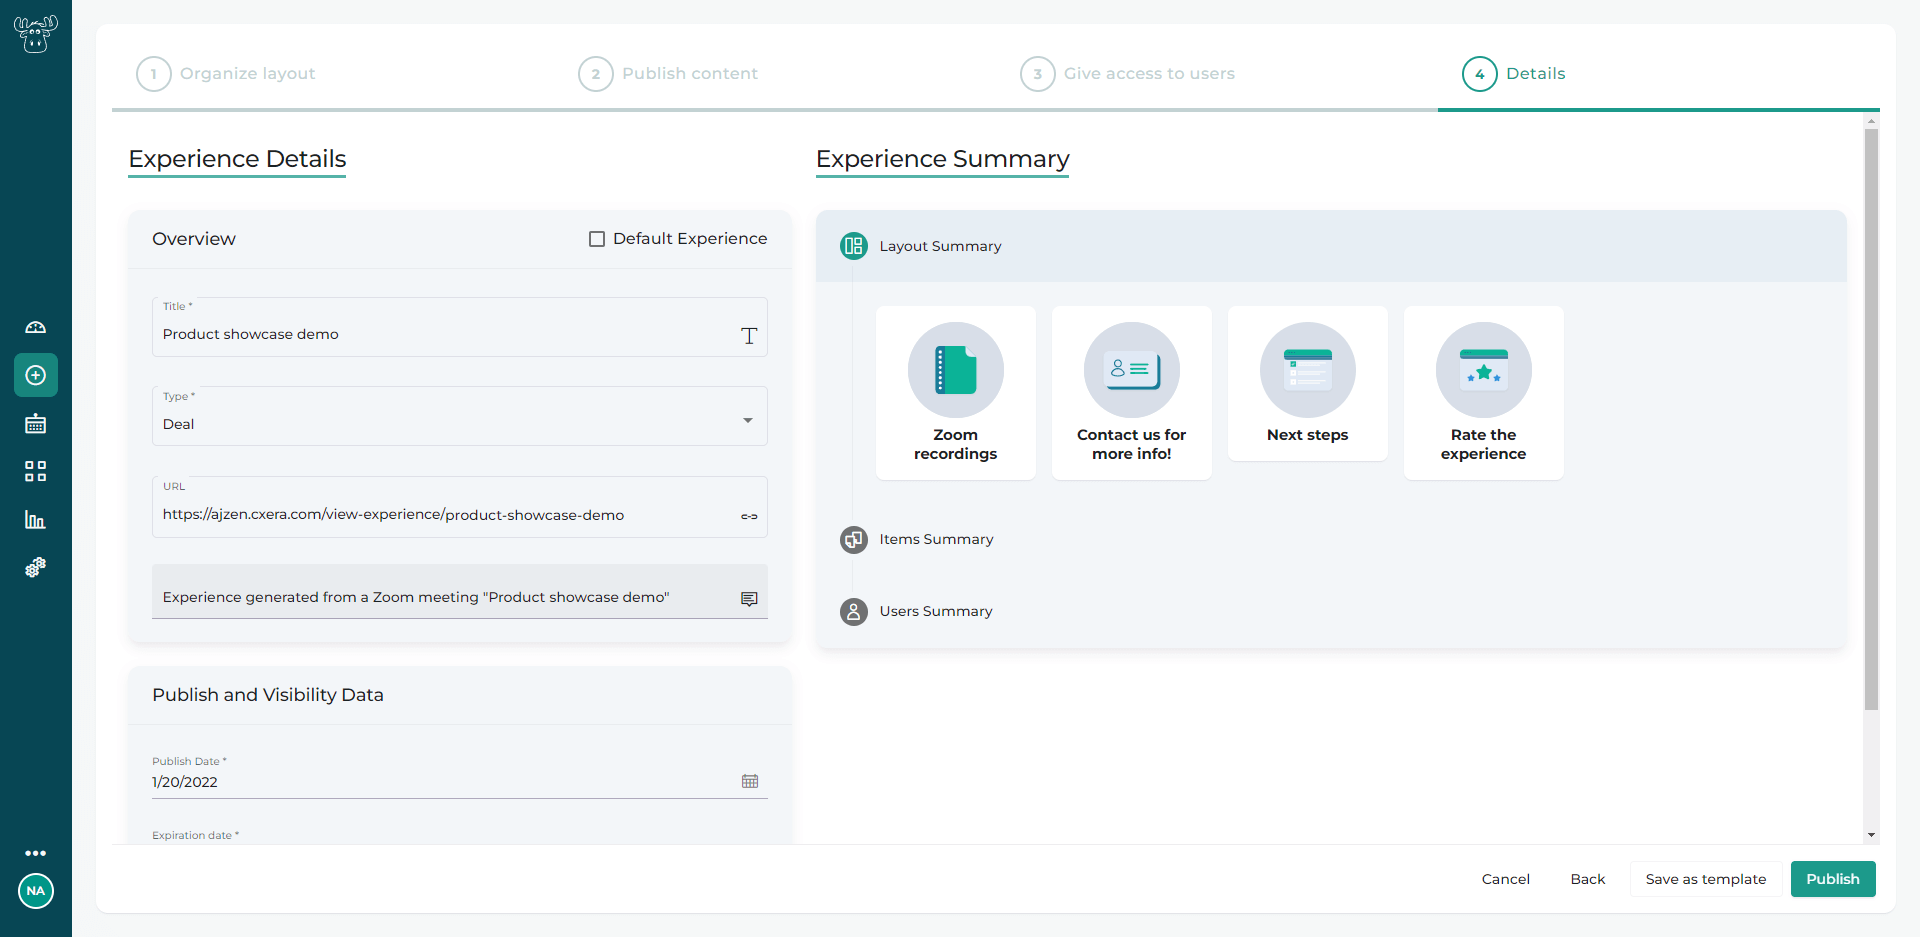
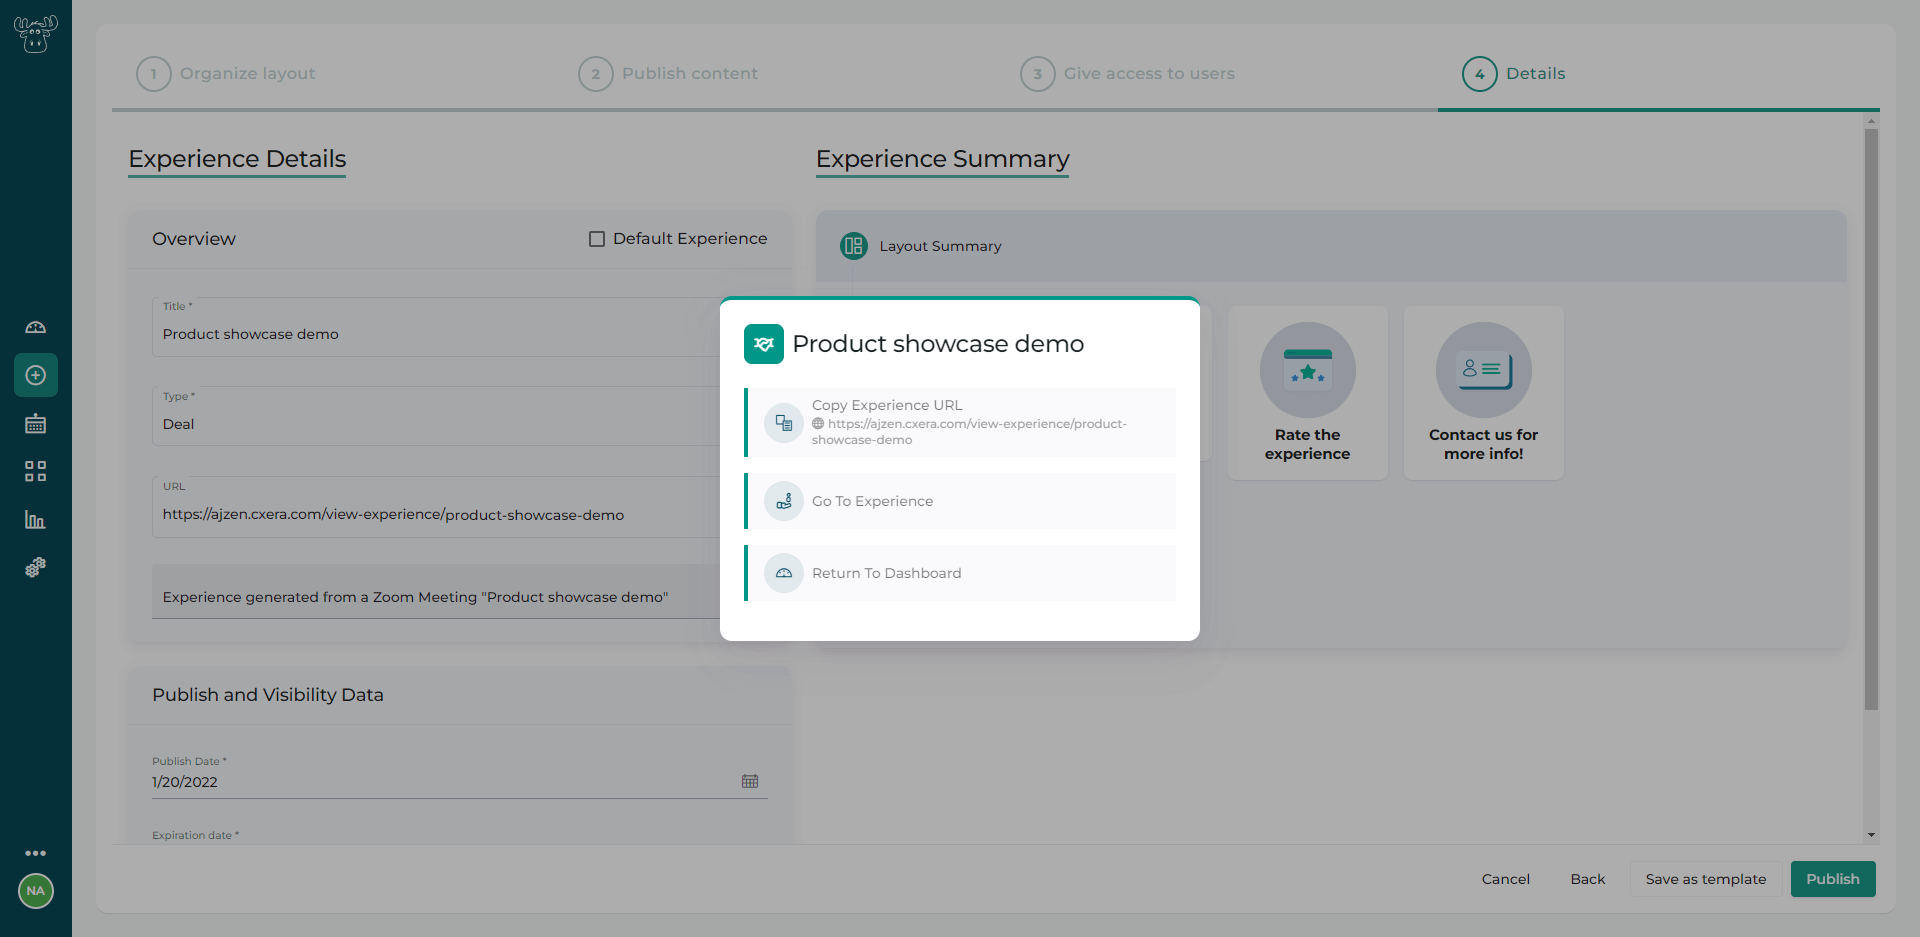
- You can proceed to create the Experience.